
Smart Contact Sensors for Apartment Windows: Easy No-Drill Security
Smart contact sensors can add renter-friendly window alerts and automations without drilling, but placement, adhesive choice, hub requirements, and account security all matter.
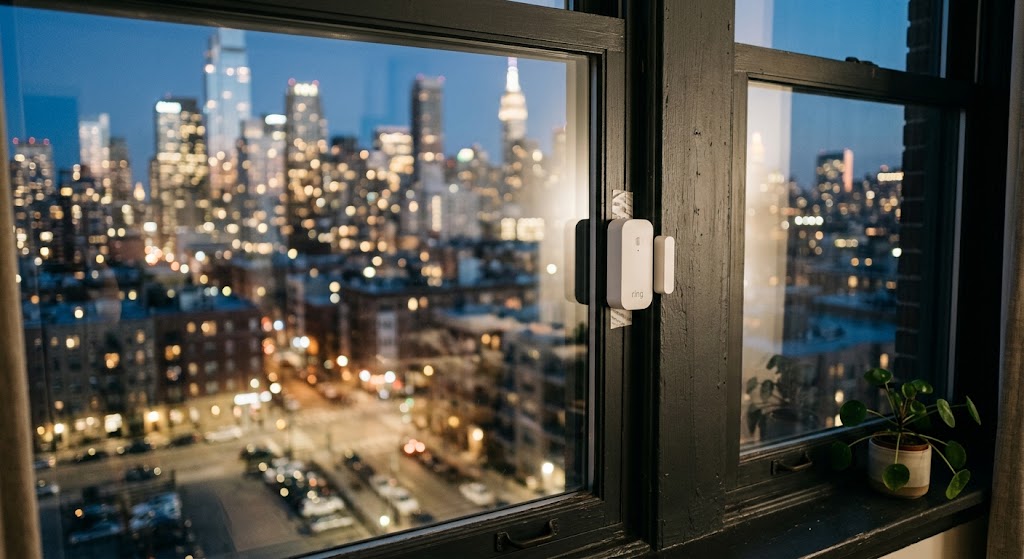
Quick answer
Smart contact sensors are one of the easiest no-drill security upgrades for apartment windows because the sensor and magnet can usually attach with adhesive and report whether a window is open or closed. For renters, the best setup preserves the window's normal operation, uses a sensor compatible with the smart-home hub you already own, and treats alerts as an awareness layer rather than a substitute for locks, window hardware, or a monitored alarm system.
Table of contents
- What a Smart Contact Sensor Actually Detects
- Why Contact Sensors Make Sense for Renters
- Four Current Sensor Types Worth Knowing
- Option 1: Matter-over-Thread Sensors for a New Smart Apartment
- Why this is attractive for renters
- The catch: the hub is still required
- Aqara P2: Flexible Mounting for Awkward Frames
- Eve Door & Window: Small Sensor With Offset Spacers
- Option 2: SwitchBot if You Already Own a SwitchBot Hub
- Installation tolerance
- Option 3: Ring Contact Sensor for an Existing Ring Alarm Apartment
- Why it is not the best standalone purchase
- The Best Mounting Position Is Not Always the Most Obvious One
- For a sliding window
- For a casement window
- For a tilt-and-turn window
- Keep the Sensor Off the Latch Path
- Metal Frames Need Extra Testing
- Do Not Advertise the Sensor From Outside
- Adhesive: The Part Most Likely to Affect Your Deposit
- Prepare the surface
- Fragile surfaces deserve extra caution
- Removal technique matters
- Should You Replace the Factory Adhesive With Command Strips?
- Smart Security Starts With the Account, Not the Magnet
- Matter and Local Automations Can Reduce Cloud Dependence
- Useful Apartment Automations Beyond Security
- 1. Window-open HVAC pause
- 2. Departure warning
- 3. Night security routine
- 4. Ventilation timer
- Alert Fatigue Is a Real Problem
- Contact Sensor vs. Glass-Break Sensor vs. Motion Sensor
- Do You Need One on Every Window?
- Renter-Friendly Setup Checklist
- Move-Out: Remove the Sensor Like a Renter, Not Like a Demolition Crew
- Conclusion
Key takeaways
- Adhesive contact sensors can add useful window-open alerts without drilling or replacing landlord-owned hardware.
- Ecosystem requirements matter: Matter-over-Thread models need a compatible Matter controller and Thread border router, while Ring and SwitchBot rely on their own hubs for key remote features.
- Mount the sensor and magnet where the window can still open, close, latch, and be cleaned normally.
- No-drill does not mean zero-risk for a security deposit; weak paint, wallpaper, textured finishes, and poor removal technique can still cause damage.
- Contact sensors provide awareness and automation, not physical reinforcement, so they should complement rather than replace working window locks.
Editorial transparency
Who worked on this article and how it was handled.
- Written by
- Maya Chen
- Creation method
- Editorial research
AI assistance: AI assisted with research organization and drafting. Sources, factual claims, and the final article should be reviewed by a human editor before publication.
Apartment windows are awkward places to add security technology. You want to know when one opens unexpectedly, but you usually cannot drill into the frame, replace landlord-owned hardware, or install anything that prevents the window from opening normally.
Smart contact sensors fit that gap well. They are small two-piece devices—usually a sensor plus a magnet—that report when the two parts separate. Mounted correctly, they can send open-window alerts, trigger lights or alarms, and tell a smart thermostat or radiator control that a window has been left open.
The trade-off is that “stick it on the frame” is not the whole setup. Renters still need to choose the right ecosystem, preserve window operation, stay within the sensor’s alignment limits, protect fragile finishes, and secure the account or hub that carries remote alerts. This guide explains how to do that without turning a no-drill upgrade into a move-out problem.
What a Smart Contact Sensor Actually Detects
A basic contact sensor answers one question:
Are these two pieces close together or separated?
One part contains the electronics. The other is a magnet. When the window is closed, the magnet sits within the sensor’s detection range. When the sash moves away, the sensor changes state from closed to open.
That simple event is useful because a smart-home system can turn it into several actions:
- send a phone notification;
- trigger a siren or alarm mode;
- turn on a hallway light;
- log when the window was opened;
- pause heating or cooling automation;
- warn you that a window is still open when you leave.
The sensor does not brace the window, lock it, or make the glass harder to break.
Think of it as an awareness sensor, not physical reinforcement.
Why Contact Sensors Make Sense for Renters
Window sensors are unusually apartment-friendly because most models are:
- battery powered;
- small enough to fit on a sash or frame;
- installed with adhesive;
- removable at move-out;
- independent of permanent electrical wiring.
You can gain useful security and automation without changing the window mechanism itself.
That is a much lower-impact project than installing:
- a hardwired alarm sensor;
- a screwed-in window lock;
- a wired security panel;
- an exterior camera mount;
- or replacement window hardware.
The important qualifier is lower impact, not zero impact. Adhesive can still damage a weak finish, and some apartment leases restrict security equipment or attachments even when no holes are involved.
Four Current Sensor Types Worth Knowing
The best contact sensor for an apartment is often the one that fits the smart-home infrastructure you already own.
| Sensor | Network / ecosystem | What you need | No-drill mounting | Useful renter angle |
|---|---|---|---|---|
| Aqara Door and Window Sensor P2 | Matter over Thread | Matter controller + Thread border router | Adhesive back; thin magnet included | Broad multi-platform compatibility and a compact alternate magnet |
| Eve Door & Window | Matter over Thread | Matter controller + Thread border router | Adhesive; spacers supported | Good fit for Matter-first Apple/Google/Alexa homes |
| SwitchBot Contact Sensor | Bluetooth + SwitchBot ecosystem | Hub required for remote alerts and broader automations | Adhesive | Low-cost ecosystem entry if you already use SwitchBot |
| Ring Alarm Contact Sensor (2nd Gen) | Ring Alarm / Z-Wave system | Ring Alarm or Alarm Pro Base Station | Mounting tape included | Strongest fit when the apartment already uses Ring Alarm |
These are representative current options, not a claim that one sensor is universally “best.”
The main decision is the network you are buying into.
Option 1: Matter-over-Thread Sensors for a New Smart Apartment
Matter-over-Thread sensors are a strong choice when you want a contact sensor that is not tied to one traditional proprietary hub ecosystem.
Both Aqara Door and Window Sensor P2 and the current Eve Door & Window use Thread and require a compatible Matter controller plus Thread border router.
Depending on your platform, that role may already be provided by a compatible:
- Apple HomePod or Apple TV;
- Google Nest hub or router;
- Amazon Echo device;
- SmartThings hub;
- or another certified Matter/Thread controller.
Why this is attractive for renters
Apartments change.
You may move from:
- an Apple-focused household;
- to a mixed-platform apartment;
- or share a home with someone using a different ecosystem.
Matter gives a supported sensor a more standardized path into multiple smart-home platforms than buying a device that only talks to one vendor-specific hub.
The catch: the hub is still required
A common Matter misconception is that “Matter means no hub.”
For battery-powered Matter-over-Thread devices, you still need the correct network infrastructure. Aqara and Eve both explicitly require a compatible Matter controller and Thread border router.
If you do not already own one, include that cost and complexity in the decision.
Aqara P2: Flexible Mounting for Awkward Frames
Aqara’s Door and Window Sensor P2 is particularly relevant to apartment windows because Aqara includes an alternative thin magnet plate in addition to the standard magnet.
That can help when the frame does not give you enough room for two equally thick components.
Aqara also documents:
- adhesive-backed installation;
- Matter over Thread;
- local automations;
- remote alerts through the connected ecosystem;
- a replaceable CR123A battery.
Aqara says the P2’s adhesive can be removed without leaving traces, but renters should still treat that as a product-design claim rather than a guarantee for every painted, laminated, varnished, or aged window surface.
The condition of the apartment finish still matters.
Eve Door & Window: Small Sensor With Offset Spacers
Eve’s current Door & Window is another Matter-over-Thread option.
Eve lists the main sensor at approximately 52 × 24 × 23 mm and uses a replaceable half-AA battery. Its support documentation says the sensor and magnet can be stuck to flat surfaces, and included spacers help align the magnet when a window or door sits recessed behind the frame.
That spacer system is useful for:
- deep window frames;
- uneven trim;
- offset sliding sections;
- installations where the sash and frame are not flush.
For renters already using a Matter-capable Apple, Google, or other supported ecosystem, Eve is a clean no-drill option.
Option 2: SwitchBot if You Already Own a SwitchBot Hub
SwitchBot’s Contact Sensor is a different architecture.
The sensor can detect door/window state locally through the SwitchBot ecosystem, but SwitchBot says remote phone alerts and broader cloud automations require a SwitchBot Hub.
This makes it most attractive for renters who already own:
- SwitchBot Hub Mini;
- Hub 2;
- or another compatible SwitchBot hub.
Buying a new hub solely for one window sensor may be less appealing than choosing a Matter-over-Thread sensor that works with infrastructure you already have.
Installation tolerance
SwitchBot says the magnet should be aligned with the sensor and kept within approximately 30 mm when closed.
Its official installation guide also recommends:
- cleaning the mounting surface;
- drying it fully;
- pressing the adhesive firmly for about 60 seconds;
- allowing adhesive strength to build over roughly a day.
That last step matters on frequently used sliding windows. Do not mount the sensor and then immediately slam the sash repeatedly to “test durability.”
Option 3: Ring Contact Sensor for an Existing Ring Alarm Apartment
If you already use Ring Alarm, its second-generation Contact Sensor is a natural window option.
Ring says the sensor:
- requires Ring Alarm or Ring Alarm Pro;
- includes mounting tape;
- uses two CR2032 batteries;
- should keep the sensor and magnet within 1 inch / 2.5 cm when closed;
- is designed for indoor use.
Ring also offers a slim magnet configuration and a riser for window frames that do not align cleanly.
Why it is not the best standalone purchase
Ring Contact Sensor is not a self-contained Wi-Fi window alarm.
Its value comes from the Ring Alarm system around it.
If you already have that Base Station, adding a window sensor is straightforward. If you do not, buying an entire alarm ecosystem for one apartment window is usually excessive.
The Best Mounting Position Is Not Always the Most Obvious One
The sensor only works reliably when the magnet remains inside the required detection gap while the window is closed and moves far enough away when the window opens.
Before removing any adhesive liner, test the placement by hand.
For a sliding window
A common layout is:
- sensor on the fixed frame;
- magnet on the moving sash;
or the reverse if the frame geometry works better.
The key is clearance.
Make sure the sensor:
- does not strike the other sash;
- does not interfere with the latch;
- is not crushed when the window reaches its fully open position;
- remains accessible for battery replacement.
For a casement window
Choose a location where the moving section separates cleanly from the fixed frame and where the sensor will not be hit by the crank, screen, or latch hardware.
For a tilt-and-turn window
Test both operating modes.
A sensor that works perfectly when the window swings inward may collide with the frame or give an unexpected state when the sash tilts.
Keep the Sensor Off the Latch Path
Do not install a contact sensor where it becomes part of the window’s mechanical closing force.
Bad positions include:
- directly under a latch hook;
- inside a compression seal;
- where a sliding sash scrapes the sensor;
- where the sensor blocks a drainage or weep opening;
- where it prevents full emergency opening.
The goal is observe the window, not modify how it operates.
That principle is especially important in a rental because a damaged latch, seal, or frame can cost far more than the sensor itself.
Metal Frames Need Extra Testing
Metal-framed apartment windows are common in newer buildings.
Ring specifically warns that steel doors and aluminum frames can sometimes affect contact-sensor performance and recommends testing the sensor before final mounting.
That is a useful rule for any wireless sensor:
Pair it, place it temporarily, and test several open/close cycles before making the adhesive permanent.
Also confirm that the sensor still communicates reliably when the window is fully closed, because the final position may place more metal between the sensor and its hub or Thread mesh than when you tested it on a desk.
Do Not Advertise the Sensor From Outside
Ring’s installation guidance recommends avoiding certain clear-glass placements where the sensor is easy for an intruder to identify.
For a renter, the cleaner approach is usually to mount the device:
- on the interior-facing frame;
- in a location not obvious from outside;
- while still preserving radio performance and battery access.
This is not about making the sensor “tamper proof.” It is about avoiding unnecessary visual disclosure of how the apartment is monitored.
Adhesive: The Part Most Likely to Affect Your Deposit
Most no-drill contact sensors use factory-applied double-sided adhesive.
Use the manufacturer’s adhesive first unless the product explicitly supports alternatives.
Prepare the surface
A typical safe sequence is:
- remove dust and grease;
- let the surface dry fully;
- test sensor alignment before exposing adhesive;
- press for the manufacturer-specified time;
- avoid stressing the bond immediately.
Do not use household cleaners that leave oily or silicone residue right before installation.
Fragile surfaces deserve extra caution
Be conservative with:
- wallpaper;
- flaking paint;
- chalky old paint;
- textured plaster;
- fresh paint;
- damaged laminate;
- sun-baked brittle vinyl.
3M’s removable-adhesive guidance, for example, distinguishes smooth compatible surfaces from wallpaper, fabric, rough, and textured materials. Some Command products also tell users to wait after painting before installation.
Your sensor’s supplied adhesive may use a different chemistry, so follow its documentation first.
Removal technique matters
With stretch-release adhesive, do not pull the sensor straight away from the wall or frame.
3M instructs users to stretch the removal tab slowly in the specified direction—often straight down along the surface—to release the adhesive with less risk of finish damage.
Again, follow the exact strip that is actually installed.
Should You Replace the Factory Adhesive With Command Strips?
Not automatically.
Factory adhesive is selected for the sensor’s:
- weight;
- backplate shape;
- operating temperature;
- mounting geometry.
A thicker aftermarket strip can change the spacing between the sensor and magnet enough to create unreliable detection.
If you want a more removable solution:
- check whether the sensor maker sells replacement pads;
- confirm thickness and load compatibility;
- re-test the closed-state detection gap after installation.
The “more renter friendly” adhesive is not helpful if it makes the sensor miss window openings.
Smart Security Starts With the Account, Not the Magnet
A connected window sensor can be physically perfect and digitally weak.
FTC guidance for internet-connected home devices recommends several basic protections:
- secure the router;
- change default credentials;
- use unique passwords;
- enable two-factor authentication where offered;
- keep firmware and apps updated;
- disable features you do not use.
These practices matter because remote alerts often travel through:
- a smart-home platform account;
- a vendor cloud;
- a security-system account;
- or a hub connected to your home network.
If someone gains control of that account, the value of the sensor is reduced.
Matter and Local Automations Can Reduce Cloud Dependence
One advantage of Matter-over-Thread sensors is the ability to participate in local smart-home automations through compatible ecosystems.
Aqara explicitly promotes local automations for its P2, and Thread itself is designed for low-power local IP networking.
That does not mean every feature is always cloud-free.
Remote notifications, ecosystem services, history, and voice-assistant behavior can still vary by platform.
The practical renter takeaway is:
- local open/close automation can be resilient;
- remote awareness still depends on the controller, hub, phone, and internet path used by your ecosystem.
Useful Apartment Automations Beyond Security
A contact sensor becomes more valuable when it does more than send an intrusion alert.
1. Window-open HVAC pause
If a window opens while heating or cooling is running, trigger a notification or compatible thermostat routine.
This is especially useful in apartments where someone opens a window for fresh air and forgets that the AC or radiator is still working.
2. Departure warning
When the home enters Away mode, check whether any monitored window is open.
This is a better use of automation than sending a notification every time you intentionally open the window while at home.
3. Night security routine
At bedtime, a routine can report whether selected windows are still open.
The wording should remain informational: open or closed, not “secure” or “unsafe.” A closed window is not necessarily locked.
4. Ventilation timer
If you open a window for ten minutes of ventilation, set an automation that reminds you if it remains open longer than planned.
This can be useful in winter or in apartments with rain exposure.
Alert Fatigue Is a Real Problem
A sensor that sends too many notifications becomes background noise.
Avoid alerts for every ordinary open/close event unless that is genuinely useful.
Better notification rules are contextual:
- window opened while nobody is home;
- window still open after 30 minutes;
- window opened during a night security mode;
- window open while rain or HVAC conditions make it relevant.
The strongest setup is not the one with the most alerts. It is the one where an alert still means something when your phone vibrates.
Contact Sensor vs. Glass-Break Sensor vs. Motion Sensor
These devices answer different questions.
| Sensor type | Detects | Good apartment use | What it misses |
|---|---|---|---|
| Contact sensor | Window or door changes from closed to open | Window-open alerts, automations, alarm zones | Glass breaking without the sash opening |
| Glass-break sensor | Acoustic or vibration pattern associated with breaking glass | Selected exposed windows | Normal window opening if glass does not break |
| Motion sensor | Movement in a monitored area | Interior occupancy or intrusion detection | Exact window state |
For a renter who wants one small no-drill device on a window, the contact sensor is usually the simplest first layer.
A full alarm strategy may combine more than one sensor type.
Do You Need One on Every Window?
Not necessarily.
Prioritize windows that are:
- on the ground floor;
- reachable from a balcony, fire escape, roof, or exterior ledge;
- hidden from street view;
- frequently left open accidentally;
- in rooms where an open-window automation has practical value.
An upper-floor window that is physically inaccessible from outside may still be worth monitoring for:
- child-safety awareness;
- HVAC automation;
- rain or ventilation reminders.
But a contact sensor should not be treated as a certified child-safety window guard or fall-prevention device.
Renter-Friendly Setup Checklist
Before applying adhesive, confirm all of these:
- The lease does not prohibit the device or attachment method.
- The sensor is paired and reporting correctly.
- The magnet stays within the manufacturer’s closed-state gap.
- The window opens through its full normal range.
- The latch remains fully usable.
- The sensor does not block seals, drains, or hardware.
- Battery access remains possible after mounting.
- The surface is clean, dry, and compatible with the adhesive.
- The sensor still communicates reliably in the final location.
- Remote alerts work when your phone is away from home Wi-Fi.
- Account 2FA is enabled if the platform supports it.
- You saved replacement adhesive or move-out removal instructions.
Move-Out: Remove the Sensor Like a Renter, Not Like a Demolition Crew
A no-drill installation only stays renter-friendly if removal is controlled.
Before move-out:
- disarm any alarm routines tied to the sensor;
- remove the device from automations;
- follow the adhesive manufacturer’s removal method;
- avoid prying against painted trim with a metal tool;
- inspect the surface before cleaning residue;
- factory-reset the sensor before selling or giving it away;
- remove the old apartment from associated smart-home accounts if appropriate.
FTC guidance for smart-home devices also recommends removing administrative access and personal information before a connected device changes hands.
Conclusion
Smart contact sensors are one of the most practical no-drill security upgrades for apartment windows because they add useful awareness without replacing the lock, drilling the frame, or touching permanent wiring.
For a new Matter-based apartment, Aqara P2 or Eve Door & Window are the cleanest cross-platform starting points if you already have a compatible Matter controller and Thread border router. SwitchBot Contact Sensor makes more sense when you already use a SwitchBot hub, while Ring Alarm Contact Sensor is the logical choice inside an existing Ring Alarm system.
Whichever sensor you choose, the installation matters as much as the protocol. Test the detection gap before mounting, keep the device out of the latch and travel path, protect the rental finish, and verify remote notifications after the sensor is in its final location.
Then treat the sensor for what it is: a compact alert and automation layer that complements the apartment’s physical window lock rather than replacing it.
Common questions
Questions this guide answers
Can I install a smart contact sensor on an apartment window without drilling?
Yes. Many current contact sensors are designed for adhesive installation. Aqara, Eve, SwitchBot, and Ring all document stick-on installation options, although the surface should be clean, dry, compatible with the adhesive, and positioned so the sensor does not interfere with the window latch or movement.
Do smart window contact sensors work without Wi-Fi?
Some do. Matter-over-Thread sensors such as Aqara Door and Window Sensor P2 and Eve Door & Window communicate over Thread and require a compatible Matter controller and Thread border router rather than direct Wi-Fi. Other sensors may use Bluetooth, Zigbee, Z-Wave, or a proprietary hub, so remote alerts can still depend on the hub having internet access.
Will a contact sensor stop someone from opening my window?
No. A contact sensor detects or reports the window's open/closed state; it does not physically reinforce the window. Use the apartment's lock or approved security hardware for physical protection and treat the sensor as an alert and automation layer.
Can removable adhesive damage a rental window frame?
It can if the finish is weak, recently painted, textured, wallpapered, dirty, or incompatible with the adhesive. Follow the sensor manufacturer's instructions, test carefully when appropriate, and remove stretch-release adhesive in the direction specified by its manufacturer rather than pulling it directly away from the surface.
Evidence & further reading
Sources & references
Primary and authoritative references used to support or contextualize this article. Links open the original source.
- 1Door and Window Sensor P2
Aqara · Accessed Aug 10, 2026
Supports Matter-over-Thread requirements, adhesive installation, the thin magnet option, alerts, and CR123A battery details for Aqara P2.
- 2Eve Door & Window
Eve Systems · Accessed Aug 10, 2026
Supports current Matter-over-Thread requirements, replaceable battery specifications, dimensions, and hub requirements for Eve Door & Window.
- 3Eve Door & Window – All FAQs
Eve Systems · Accessed Aug 10, 2026
Supports adhesive installation on flat surfaces and the use of included spacers for recessed or offset windows.
- 4SwitchBot Contact Sensor
SwitchBot · Accessed Aug 10, 2026
Supports window-open detection, alignment requirements, hub requirements for remote alerts, and current sensor dimensions.
- 5Installing and using Ring Alarm Contact Sensor
Ring · Accessed Aug 10, 2026
Supports adhesive mounting, maximum sensor-to-magnet gap, battery type, indoor-use limitations, and Ring Alarm Base Station dependency.
- 6Securing Your Internet-Connected Devices at Home
Federal Trade Commission · Accessed Aug 10, 2026
Supports account, router, firmware-update, and two-factor-authentication security practices for connected smart-home devices.
- 7Command 5 lb Small White Picture Hanging Strips
3M · Accessed Aug 10, 2026
Provides general removable-adhesive surface and clean-removal guidance relevant to renter-friendly mounting, while sensor-specific mounting instructions still take priority.

About the author
Maya Chen
Maya covers residential energy, HVAC controls, and practical home automation, translating technical systems into useful decisions for homeowners and renters.
More from Maya →Make your home smarter without buying every gadget.
One useful idea, one product worth knowing, and one energy-saving action—delivered weekly.
No spam. Unsubscribe anytime.
Semantic recommendations
Related reading
Selected from topic cluster, entities, tags, search intent, and editorial relationships.
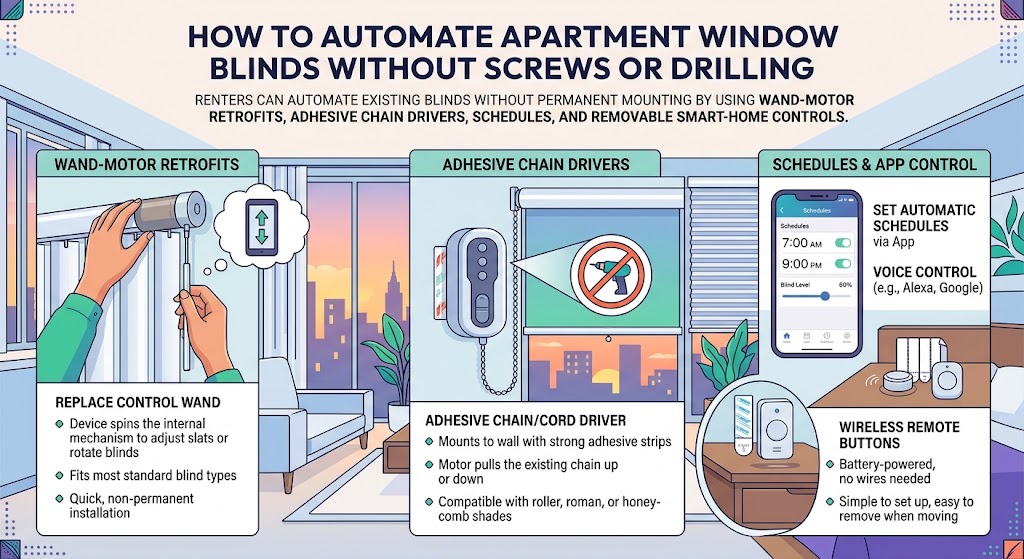
How to Automate Apartment Window Blinds Without Screws or Drilling
Renters can automate existing blinds without permanent mounting by using wand-motor retrofits, adhesive chain drivers, schedules, and removable smart-home controls.
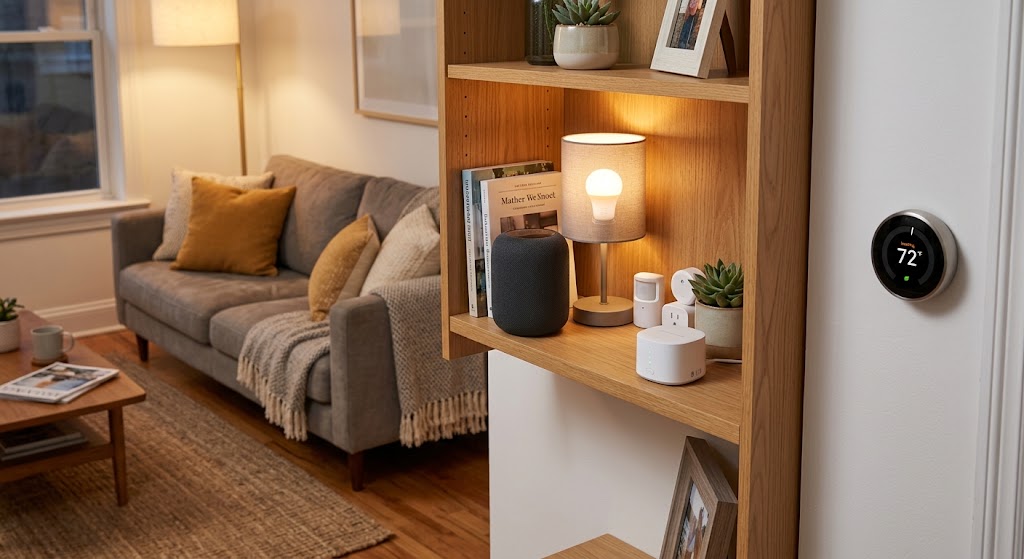
Renter Move-In Guide: Setting Up Smart Home Tech Without Drilling
A renter-friendly move-in plan for building a useful smart home with portable devices, removable mounts, safer privacy settings, and no permanent wall changes.
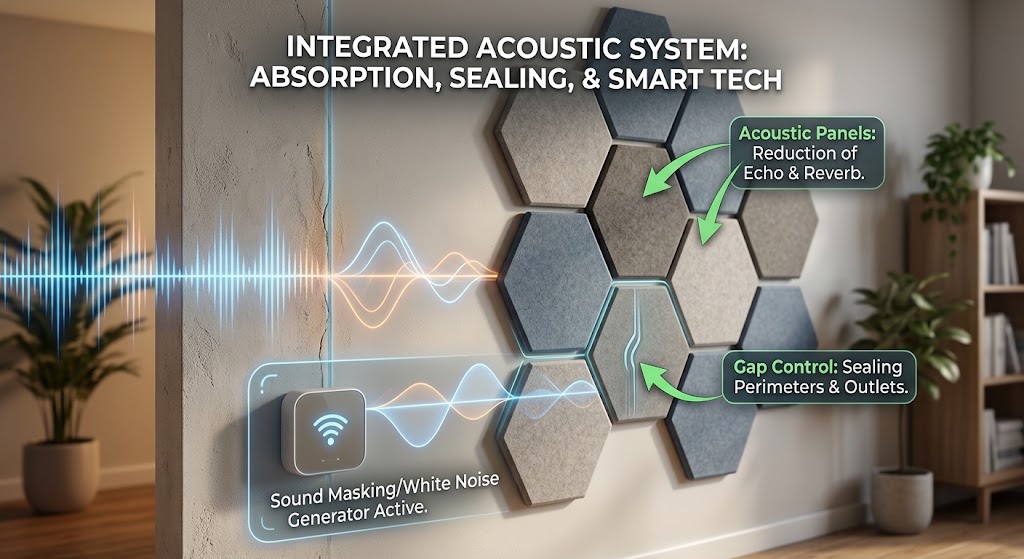
Soundproofing Apartment Walls: Smart Acoustic Panels & Tech Hacks
Acoustic panels can reduce echo, but they do not truly soundproof a shared apartment wall. Here is how renters can combine absorption, gap control, sound masking, and smart tech for a noticeably quieter space.

10 Drill-Free Smart Home Upgrades That Won't Risk Your Security Deposit
These renter-friendly smart home upgrades add automation, energy savings, safety, and comfort without drilling holes or changing permanent wiring.