
Renter Move-In Guide: Setting Up Smart Home Tech Without Drilling
A renter-friendly move-in plan for building a useful smart home with portable devices, removable mounts, safer privacy settings, and no permanent wall changes.
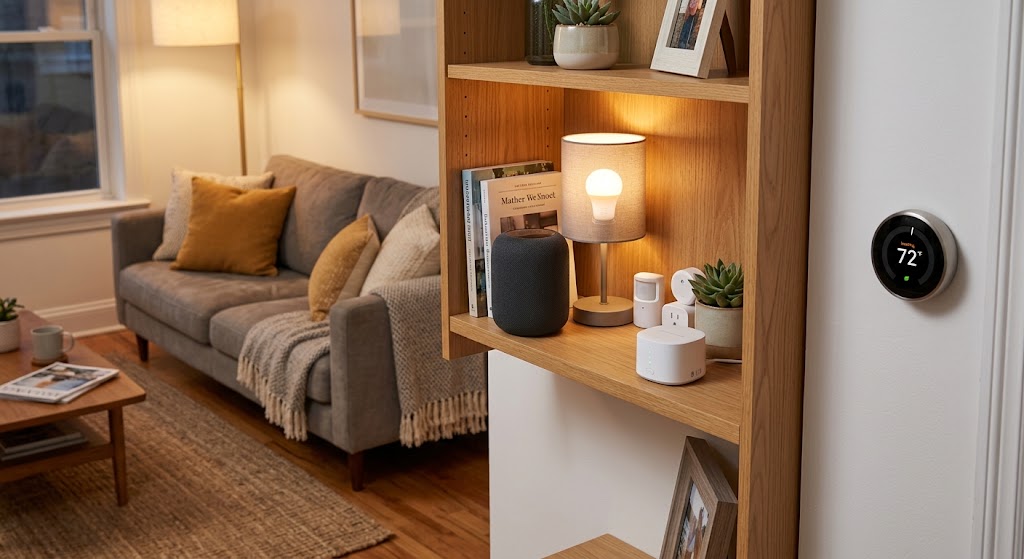
Quick answer
Renters can build a capable smart home without drilling by prioritizing portable devices such as smart bulbs, plugs, speakers, and tabletop cameras, then using manufacturer-approved removable or adhesive mounts only on compatible surfaces. Before changing locks, thermostats, wiring, door hardware, or common-area devices, check the lease and get written permission when required.
Table of contents
- The renter rule: make the smart layer removable
- Before you unpack devices, check the lease and existing tech
- Build your no-drill smart home in this order
- 1. Start with smart bulbs and plugs
- 2. Put hubs, speakers, and controllers on furniture—not walls
- 3. Use tabletop or magnetic camera placement first
- 4. Add door and window sensors with surface-safe mounting
- 5. Treat a no-drill video doorbell as a permission-first device
- 6. Be cautious with smart thermostats, switches, locks, and alarms
- Smart thermostats
- Smart switches and relays
- Smart locks
- Smoke and carbon-monoxide alarms
- 7. Secure the network before adding a dozen devices
- 8. Create automations around routines, not around the apartment itself
- 9. Make move-out part of the setup plan
- A practical renter smart-home starter kit
- The no-drill decision test
- Conclusion
Key takeaways
- Start with portable devices first: smart bulbs, plugs, speakers, hubs, and tabletop cameras deliver useful automation without changing the apartment itself.
- Use adhesive or magnetic mounting only where the device maker and mounting-product instructions support the surface, weight, and environment.
- Treat locks, thermostats, mains wiring, alarms, intercoms, and common-area cameras as permission-first upgrades rather than casual DIY projects.
- Secure every connected device with updated software, unique credentials, and multifactor authentication when available, then remove account access when you move.
Editorial transparency
Who worked on this article and how it was handled.
- Written by
- Maya Chen
- Creation method
- Editorial research
AI assistance: AI assisted with research organization and drafting. Sources, factual claims, and the final article should be reviewed by a human editor before publication.
Moving into a rental is the easiest moment to decide whether your smart home will stay portable or slowly become part of the apartment. The wrong choices can leave you with damaged paint, a lease dispute, or a box of devices that are painful to remove when the next move arrives.
The useful distinction is not “smart” versus “non-smart.” It is portable versus building-integrated. Smart bulbs, plugs, speakers, hubs, sensors, and tabletop cameras can move with you; wired switches, thermostats, locks, alarms, and exterior cameras may touch systems or surfaces that belong to the property owner.
This guide gives renters a move-in sequence that creates useful automation without drilling: what to install first, where removable mounts make sense, which upgrades need permission, how to secure the network, and how to leave cleanly at move-out.
The renter rule: make the smart layer removable
A renter-friendly smart home should be able to disappear without leaving much evidence behind. That means the intelligence lives primarily in devices you own and can unplug, unscrew from a lamp socket, lift from a shelf, or remove from a manufacturer-approved temporary mount.
That approach also makes upgrades easier. When you move, the same bulbs, plugs, hub, sensors, routines, and voice assistants can become the foundation of the next apartment instead of being abandoned with the old one.
Use this hierarchy when deciding whether a device belongs in your rental:
- Portable: sits on a surface or plugs into an outlet.
- Reversible: attaches magnetically or with a removable mounting method approved for the device and surface.
- Permission-first: replaces or alters landlord-owned hardware, wiring, locks, thermostats, alarms, or common-area fixtures.
The farther down that list you go, the more documentation you should have before installation.
Before you unpack devices, check the lease and existing tech
Spend ten minutes documenting the apartment before adding anything.
Photograph the condition of walls, doors, trim, outlets, thermostat, intercom, smoke alarms, carbon-monoxide alarms, and any existing connected equipment. If the property already has a smart thermostat, lock, leak sensor, or building access system, find out who owns it and which account is supposed to control it.
Then check the lease or building handbook for language covering:
- wall attachments and adhesives;
- door hardware and locks;
- cameras or recording devices;
- balcony and exterior fixtures;
- shared hallways and common areas;
- electrical modifications;
- thermostats, HVAC controls, and intercoms;
- required restoration at move-out.
A “no drilling” setup is not automatically an “allowed” setup. Adhesives can still affect paint, a doorbell can still change the appearance of the entry, and a camera can still create privacy concerns in a shared corridor.
If the rule is ambiguous, written approval is more useful than assuming a reversible installation will be acceptable later.
Build your no-drill smart home in this order
The best renter setups start with devices that deliver the most utility while touching the least property.
| Device category | No-drill approach | Typical property impact | Move-out effort |
|---|---|---|---|
| Smart bulbs | Screw into compatible lamp or fixture sockets | Very low | Unscrew and reinstall original bulb |
| Smart plugs | Plug into accessible wall outlets | Very low | Unplug |
| Smart speaker or hub | Place on shelf, desk, or counter | Very low | Unplug and pack |
| Indoor camera | Use supplied tabletop stand or approved magnetic placement | Low | Unplug and remove |
| Door/window sensor | Use manufacturer-approved adhesive on a compatible surface | Low to medium | Remove carefully and clean residue if needed |
| Video doorbell | Use an approved model-specific no-drill mount where permitted | Medium | Remove mount and restore surface |
| Smart thermostat | Only with system compatibility and landlord approval | High | Professional or approved restoration may be needed |
| Smart switch or hardwired relay | Permission-first electrical work | High | Requires restoration and may require a professional |
| Smart lock | Permission-first because it changes door security hardware | High | Reinstall original hardware correctly |
This sequence keeps the first day simple: lighting, power control, a hub, and perhaps a freestanding camera can make the apartment feel automated before you attach anything to a wall.
1. Start with smart bulbs and plugs
For renters, lighting and outlet control are the cleanest entry point.
A smart bulb replaces a standard bulb without changing the fixture. A smart plug adds scheduling, remote control, and automations to compatible plug-in devices without opening an electrical box. The U.S. Department of Energy specifically includes LED lighting, power strips, and smart plugs among practical energy-saving measures for renters.
Useful first automations include:
- turn selected lamps on at sunset;
- switch all living-room lights off at bedtime;
- disable a nonessential plug when everyone leaves;
- create a low-light evening scene;
- use a button or voice command to control several portable lamps together.
Do not use a smart plug with an appliance unless the plug is rated for that appliance’s electrical load and the appliance manufacturer permits switched operation. Space heaters, air conditioners, cooking appliances, and other high-load or safety-critical equipment deserve special caution.
2. Put hubs, speakers, and controllers on furniture—not walls
Smart speakers, displays, bridges, and home-automation hubs usually work well on a bookshelf, media console, side table, or cabinet.
That sounds obvious, but it solves two renter problems at once: no mounting damage and easier relocation if wireless coverage is poor.
Place a hub where it has reliable network access and reasonable proximity to the devices it serves. Avoid hiding wireless equipment inside metal cabinets or behind dense clusters of electronics unless the manufacturer specifically recommends it.
Keep power cables tidy with removable cable clips or freestanding cable organizers rather than permanent staples or fasteners. Do not route cords where they create a trip hazard, interfere with doors, cross heaters, or obstruct required access to outlets and equipment.
3. Use tabletop or magnetic camera placement first
Indoor cameras do not automatically need wall mounts.
Google’s support documentation for Nest Cam Indoor, for example, describes placing the camera directly on a shelf, countertop, or table using its stand. Compatible models can also use a magnetic base on an appropriate metal surface without drilling.
The same general principle applies across camera categories: use the manufacturer’s freestanding option before improvising a wall mount.
Test three things before deciding the placement is final:
- Wi-Fi reliability at that location.
- Whether the field of view captures only the area you actually intend to monitor.
- Whether the power cable can be routed safely without being stretched across walkways.
For privacy, avoid pointing indoor cameras at areas where occupants or guests reasonably expect greater privacy. If the camera captures a shared hallway, neighboring door, sidewalk, or other common area, check local rules and building policy before enabling recording.
4. Add door and window sensors with surface-safe mounting
Contact sensors can make a rental feel much smarter without changing the building. They can trigger entry lights, remind you that a window is open, pause an automation, or send an alert when a door changes state.
Many sensor kits use adhesive mounting, but “adhesive” is not the same as “damage-proof.” Painted drywall, textured paint, wallpaper, unfinished wood, metal, tile, glass, and vinyl can behave differently.
Before attaching a sensor:
- read the sensor manufacturer’s mounting instructions;
- verify that the adhesive is intended for the specific surface;
- clean and dry the surface as directed;
- avoid exceeding the adhesive product’s rated load;
- respect any waiting period before loading the bond;
- test alignment before pressing the pieces into their final positions.
3M’s Command product instructions, for example, call for a clean, dry surface, rubbing-alcohol preparation for the relevant products, firm pressure during installation, a waiting period before loading, and slow stretching of the removal tab along the wall rather than pulling it outward. The company also warns that incorrect application or removal can cause damage.
That last point is important for renters: removable mounting reduces risk; it does not eliminate it.
5. Treat a no-drill video doorbell as a permission-first device
A battery doorbell with a purpose-built no-drill mount can avoid screws. Ring, for example, sells model-specific no-drill mounts that use double-sided adhesive to secure a compatible battery doorbell mounting plate.
The hardware may be renter-friendly, but the location can be legally and contractually sensitive.
Before installing one, confirm:
- the mount is made for your exact doorbell model;
- the mounting surface is smooth and supported by the manufacturer;
- the lease permits attaching equipment to the exterior side of the unit;
- building management permits a device visible from common areas;
- the camera’s field of view complies with applicable privacy rules;
- removal will not damage paint, veneer, weather seals, or door trim.
A no-drill mount is a mounting solution, not automatic permission to record a shared corridor.
6. Be cautious with smart thermostats, switches, locks, and alarms
These are the devices that most often cross the line from portable tech into building systems.
Smart thermostats
A thermostat may involve low-voltage wiring, HVAC compatibility, control-board requirements, landlord-owned equipment, and a move-out restoration obligation. Even when installation looks simple, do not replace it without permission and verified compatibility.
Smart switches and relays
Anything installed behind a wall plate or inside an electrical box is mains electrical work in many homes. That is not a renter-friendly shortcut simply because the device is marketed as smart. Follow local code and property rules, and use a qualified professional where required.
Smart locks
A lock affects physical security, landlord access, emergency access, and sometimes insurance or building rules. Do not alter the lockset or exterior hardware without explicit approval. If permission is granted, keep every original part labeled and stored for restoration.
Smoke and carbon-monoxide alarms
Do not remove, cover, relocate, disable, or substitute required life-safety alarms just to add automation. Building codes, landlord obligations, and approved-device requirements vary by location. Treat these as safety equipment first and smart-home devices second.
7. Secure the network before adding a dozen devices
A renter can have a fully reversible physical installation and still create a permanent privacy problem by configuring the network badly.
The Federal Trade Commission recommends securing the router, changing default credentials, enabling strong Wi-Fi encryption, keeping firmware and apps updated, and using two-factor authentication where available. The FTC also advises disabling features you do not use and disconnecting older devices that are no longer supported.
For a new apartment, use this setup order:
- Update the router firmware.
- Change default router administrator credentials.
- Use WPA3 Personal where supported, or WPA2 Personal when WPA3 is unavailable.
- Give smart-home accounts unique passwords rather than reusing an email or shopping password.
- Turn on multifactor authentication where the platform offers it.
- Enable automatic firmware and app updates when appropriate.
- Review which household members and guests have access to cameras, locks, and routines.
- Remove devices you no longer recognize from the network and smart-home app.
If your landlord provides the Wi-Fi network and you do not control its security settings, consider the privacy implications before connecting cameras, locks, or other sensitive devices to it.
8. Create automations around routines, not around the apartment itself
Portable automation becomes more valuable when the logic can move with you.
Instead of building a routine that depends on a permanently installed switch in a particular wall, center it on device groups and behaviors:
- Arrive home: turn on entry and living-room lamps.
- Leave home: switch off selected lights and nonessential plugs.
- Night: dim bedroom lighting and confirm selected sensors are closed.
- Morning: turn on a lamp gradually and start a low-volume speaker routine.
- Vacation: vary lighting schedules and enable appropriate camera notifications.
Name devices by function rather than by temporary apartment-specific labels when possible. “Desk Lamp” and “Entry Sensor” survive a move better than “Unit 4B East Wall Light.”
If your platform supports rooms and homes as separate organizational layers, keep the physical devices easy to reassign later.
9. Make move-out part of the setup plan
The best time to plan removal is when the device goes in.
Keep a small move-out kit with:
- original bulbs and hardware;
- spare adhesive-removal tabs or manufacturer-approved replacement strips;
- original wall plates or lock components if an approved change was made;
- labeled screws and brackets;
- device manuals or model numbers;
- photos showing the apartment before installation.
When you move, remove devices slowly and according to the mounting-product instructions rather than rushing through the apartment on the final night.
For connected devices, review app access as carefully as the physical removal. Delete old automations, household members who no longer need access, old Wi-Fi credentials, camera sharing, and location-based routines.
The FTC recommends removing administrative access and personal information from connected devices when control of a smart home changes hands. If a smart device is staying behind, follow the manufacturer’s reset procedure so your account does not remain attached to the apartment.
A practical renter smart-home starter kit
You do not need to automate every room on move-in day. A small, portable foundation is easier to maintain and more likely to move with you.
| Starter item | Why it works for renters | Installation approach |
|---|---|---|
| 2–4 smart LED bulbs | Lighting scenes and schedules with no wiring change | Replace compatible bulbs |
| 1–2 smart plugs | Adds automation to ordinary plug-in devices | Plug into accessible outlets |
| One hub or smart speaker | Centralizes routines and voice/app control | Place on furniture |
| One indoor camera, if needed | Security or pet monitoring | Use a tabletop stand or approved magnetic placement |
| 2–4 contact sensors | Entry/window awareness and automation triggers | Manufacturer-approved adhesive on suitable surfaces |
| Removable cable management | Keeps the setup tidy without permanent fasteners | Use surface-compatible removable clips |
Add a video doorbell, thermostat, lock, or wall-mounted control only after the lease and building rules are clear.
The no-drill decision test
Before buying any smart-home device for a rental, ask five questions:
- Can it work without changing landlord-owned hardware?
- Can it be removed without tools or surface repair?
- Does the manufacturer explicitly support the mounting method I plan to use?
- Does it affect security, privacy, electrical wiring, HVAC, alarms, or common areas?
- Can I restore the apartment quickly at move-out?
If the first three answers are yes and the fourth is no, the device is usually a strong renter candidate. If the device affects a building system or shared space, shift from DIY mode to permission-first mode.
Conclusion
A renter-friendly smart home is less about finding clever ways around a drill and more about choosing technology that stays separate from the building. Start with portable lighting, plugs, hubs, and freestanding devices; use removable mounts only where the manufacturer and surface instructions support them; and get permission before touching locks, wiring, thermostats, alarms, or shared-space cameras.
Set up the network securely at the same time, keep the original apartment hardware, and plan removal while you install. Done well, your smart home should leave with you in a few boxes—not stay behind as holes, damaged paint, forgotten accounts, or a move-out charge.
Common questions
Questions this guide answers
Can renters set up a smart home without drilling holes?
Yes. Many useful smart-home devices are plug-in, screw-in, freestanding, magnetic, or designed for adhesive mounting, so they can be installed without making permanent wall changes. Surface compatibility, lease terms, building rules, and manufacturer instructions still matter.
Are removable adhesive strips guaranteed not to damage rental walls?
No. Removable mounting products can reduce the risk of wall damage when used exactly as directed, but no adhesive method is universally safe for every paint, wallpaper, finish, temperature, or surface condition. Follow the adhesive manufacturer's preparation, waiting, load, and removal instructions.
Can a renter install a video doorbell without drilling?
Some battery video doorbells support model-specific no-drill adhesive mounts. Renters should still confirm that the lease, landlord, building management, and local privacy rules allow a camera or doorbell in that location, especially when it faces a shared hallway or common area.
Which smart-home upgrades should renters avoid installing without permission?
Avoid unapproved changes that alter wiring, mains-powered switches, thermostats, door locks, intercoms, smoke or carbon-monoxide alarms, or other building systems. These can affect safety, code compliance, security, or landlord-owned equipment and may require a qualified professional.
What should renters do with smart-home devices when moving out?
Remove renter-owned devices carefully, restore the apartment to the required condition, and delete old home assignments, guest access, automations, and location data from the associated apps. If any connected device remains in the apartment, remove personal accounts and administrative access and follow the manufacturer's reset procedure.
Evidence & further reading
Sources & references
Primary and authoritative references used to support or contextualize this article. Links open the original source.
- 15 Tips for Energy-Saving Renters
U.S. Department of Energy · Accessed Aug 20, 2026
Supports renter-friendly use of LED lighting, programmable thermostats where appropriate, power strips, and smart plugs as low-impact energy measures.
- 2How to mount your Nest Cam Indoor
Google Home and Nest Help · Accessed Aug 20, 2026
Supports freestanding shelf placement and magnetic mounting as alternatives to drilling for compatible indoor cameras.
- 3Install No-Drill Mount for battery doorbells
Ring · Accessed Aug 20, 2026
Supports the availability and limitations of model-specific adhesive no-drill mounts for compatible battery video doorbells.
- 4Command Strips Product Information Sheet March 2011
3M · Accessed Aug 20, 2026
Supports surface preparation, adhesion, waiting, and slow stretch-removal instructions for removable mounting strips.
- 5Securing Your Internet-Connected Devices at Home
Federal Trade Commission · Accessed Aug 20, 2026
Supports router security, unique credentials, software updates, device security features, and two-factor authentication for connected-home devices.
- 6Buying or selling a ‘smart’ home? Read this.
Federal Trade Commission · Accessed Aug 20, 2026
Supports removing administrative access and personal information and resetting connected devices when control of a home changes hands.

About the author
Maya Chen
Maya covers residential energy, HVAC controls, and practical home automation, translating technical systems into useful decisions for homeowners and renters.
More from Maya →Make your home smarter without buying every gadget.
One useful idea, one product worth knowing, and one energy-saving action—delivered weekly.
No spam. Unsubscribe anytime.
Semantic recommendations
Related reading
Selected from topic cluster, entities, tags, search intent, and editorial relationships.

10 Drill-Free Smart Home Upgrades That Won't Risk Your Security Deposit
These renter-friendly smart home upgrades add automation, energy savings, safety, and comfort without drilling holes or changing permanent wiring.
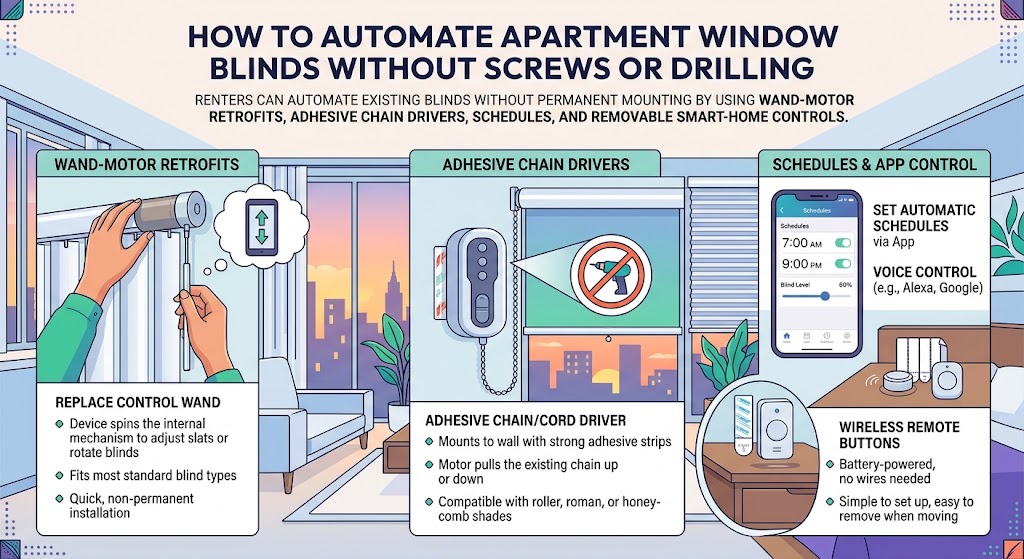
How to Automate Apartment Window Blinds Without Screws or Drilling
Renters can automate existing blinds without permanent mounting by using wand-motor retrofits, adhesive chain drivers, schedules, and removable smart-home controls.
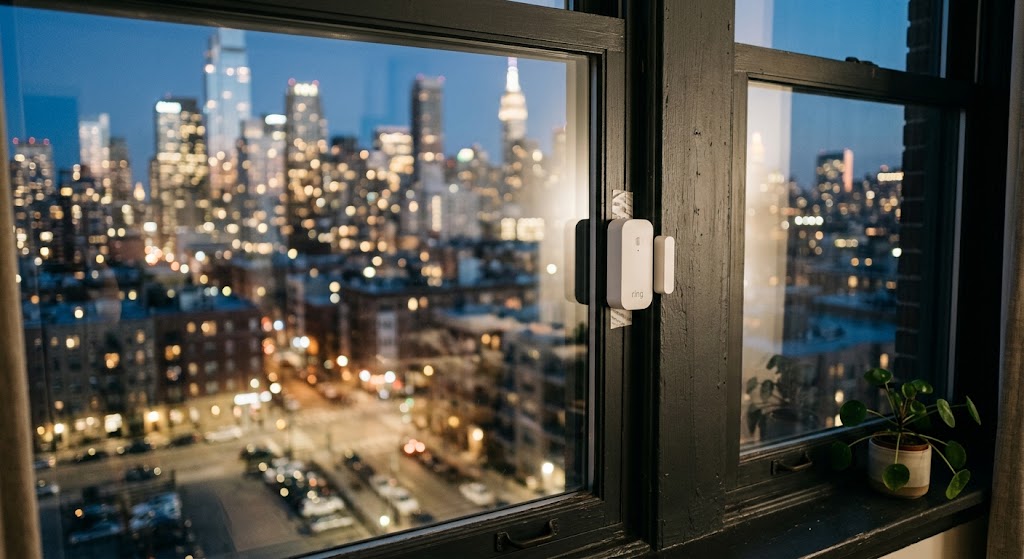
Smart Contact Sensors for Apartment Windows: Easy No-Drill Security
Smart contact sensors can add renter-friendly window alerts and automations without drilling, but placement, adhesive choice, hub requirements, and account security all matter.
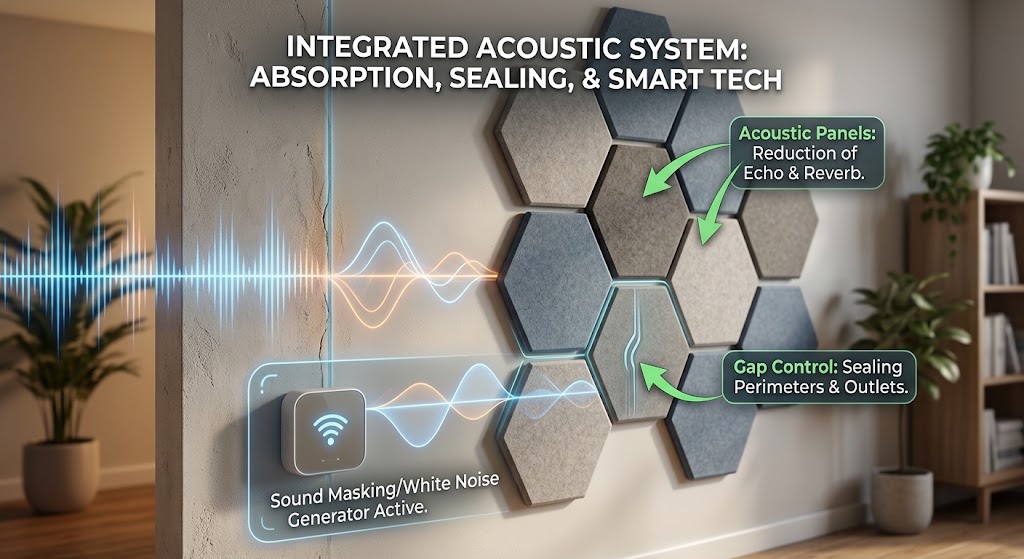
Soundproofing Apartment Walls: Smart Acoustic Panels & Tech Hacks
Acoustic panels can reduce echo, but they do not truly soundproof a shared apartment wall. Here is how renters can combine absorption, gap control, sound masking, and smart tech for a noticeably quieter space.