
Renter-Friendly Under-Cabinet LED Strip Lighting Automations
Build useful under-cabinet lighting automations with plug-in LED strips, removable mounting, motion sensing, and renter-safe controls.
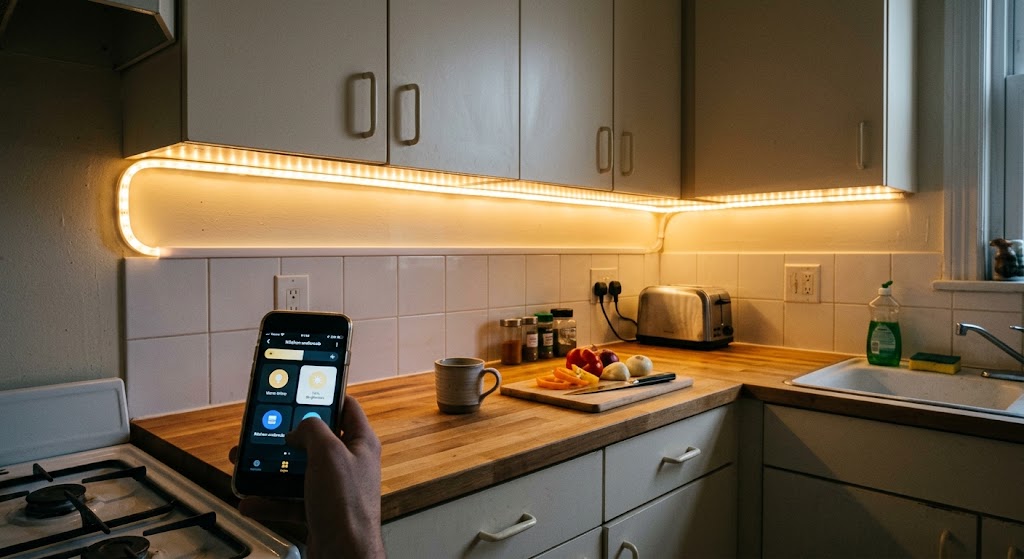
Quick answer
The most renter-friendly way to automate under-cabinet lighting is to use a plug-in smart LED strip, mount it with removable clips or another reversible method instead of permanent screws, and automate it with motion, time, or occupancy rules. Keep the power supply accessible, avoid hardwiring, and choose mounting and lighting hardware that is appropriate for the cabinet surface, nearby heat, and moisture conditions.
Table of contents
- Start with a plug-in smart strip, not a hardwired fixture
- Smart strip vs regular strip plus smart plug
- Mount the strip for removal before you design the automation
- Why direct adhesive can be risky on cabinets
- A practical removable mounting stack
- Position the light for the countertop, not for the cabinet edge
- Diffusers can improve the result, but renters should keep them removable
- Build the baseline automation: motion on, vacancy off
- Use daylight sensitivity when your platform supports it
- Add a late-night scene instead of using the daytime task scene
- A useful late-night automation
- Use door sensors only where they solve a real problem
- Create a “cooking mode” that overrides the motion timer
- Do not create automations that depend on the main wall switch staying off
- Matter can make a renter setup easier to move between ecosystems
- What to automate—and what not to automate
- Electrical, heat, and moisture safety still matter
- A renter-friendly setup in three tiers
- Move-out planning should be part of installation day
- Conclusion
Key takeaways
- For rentals, a plug-in light strip with reversible mounting is usually safer than hardwired or screw-mounted under-cabinet lighting.
- Motion plus an automatic off-delay is the most useful baseline automation, while time-based brightness and color-temperature changes improve nighttime comfort.
- Built-in strip adhesive may be convenient but can damage some finishes, so removable clips or other reversible mounting methods are often better for rental cabinetry.
Editorial transparency
Who worked on this article and how it was handled.
- Written by
- Daniel Reed
- Creation method
- Editorial research
AI assistance: AI assisted with research organization and drafting. Sources, factual claims, and the final article should be reviewed by a human editor before publication.
Under-cabinet lighting is one of the easiest ways to make a rental kitchen feel more finished, but permanent fixtures are often a poor fit for an apartment. Drilling into cabinets, routing new mains wiring, or bonding a high-strength adhesive strip directly to a landlord’s finish can turn a simple lighting upgrade into a move-out problem.
The better approach is to treat the lighting as a removable smart-home layer. A plug-in LED strip can provide useful task light without electrical work, while a motion sensor, schedule, or smart-home routine can make it behave more like built-in lighting than temporary decor.
The key is designing the system around reversibility from the start. This guide explains how to choose the strip, mount it without unnecessary damage, build useful automations, and keep power adapters and sensors accessible so the whole setup can come down cleanly when you move.
Start with a plug-in smart strip, not a hardwired fixture
For most renters, the safest architecture is simple:
wall outlet → manufacturer power adapter/controller → LED strip
That keeps the installation reversible and avoids modifying branch wiring, cabinet wiring, or a junction box. Products such as Philips Hue Lightstrip Plus and IKEA ORMANÄS are examples of smart strips that use their own supplied power hardware rather than requiring a new permanent electrical circuit.
A plug-in design also makes troubleshooting easier. If the controller fails, the hub changes, or you move apartments, the system can be unplugged and removed without opening walls or cabinets.
Smart strip vs regular strip plus smart plug
Both approaches can work, but they behave differently.
| Setup | Best for | Main limitation |
|---|---|---|
| Smart LED strip | Dimming, scenes, color temperature, motion routines | Usually costs more and may depend on an app, hub, or ecosystem |
| Regular LED strip + smart plug | Simple on/off schedules | The plug cannot normally create dimming or color control by itself |
| Manual USB/plug-in strip | Lowest-cost task lighting | Limited automation unless another controller is added |
If you want the strip to become bright neutral task lighting while cooking and a soft warm guide light after midnight, use a strip whose controller exposes brightness and color-temperature controls to your automation platform.
If you only want the lights to switch on at 6 p.m. and off at midnight, a simpler strip plus a properly rated smart plug may be enough.
Mount the strip for removal before you design the automation
A lot of renter lighting advice starts with software. The real make-or-break decision is mechanical.
Many LED strips ship with adhesive backing. Philips Hue, for example, explicitly describes mounting its Lightstrip Plus to a flat solid surface using the built-in adhesive. IKEA likewise describes ORMANÄS as self-adhesive.
That is convenient in an owned home. In a rental, direct adhesive can be a bigger commitment than it looks.
Why direct adhesive can be risky on cabinets
Cabinet finishes vary widely: painted MDF, lacquer, laminate, wood veneer, thermofoil, varnished wood, and older surfaces that may already be weak or brittle. A strip that stays attached through heat and cooking humidity can require enough adhesive strength to pull at the finish when it is finally removed.
For that reason, a renter-friendly setup should prefer a replaceable mounting interface where possible.
3M sells removable decorating and cord-management clips designed for smooth finished surfaces and clean removal when used according to instructions. A clip-based system lets the mounting adhesive hold a small clip rather than bonding the entire LED strip directly to the cabinet.
That has another advantage: if the light strip needs replacement, you may be able to remove the strip from the clips without disturbing every adhesive point.
A practical removable mounting stack
For many kitchens, this arrangement works well:
- Clean the underside of the cabinet according to the mounting product’s instructions.
- Test one removable clip or strip in a hidden location first.
- Space clips so the LED strip does not sag between them.
- Run the strip inside or behind the clips rather than stretching it tightly.
- Use separate removable cord clips for the low-voltage cable and power lead.
- Keep the controller and power adapter accessible instead of burying them behind fixed cabinetry.
Do not assume a product advertised as “damage free” is safe for every finish. Surface age, paint quality, veneer condition, cleaning chemicals, and removal technique all matter.
Position the light for the countertop, not for the cabinet edge
Under-cabinet light works best when it illuminates the actual work surface without exposing individual LEDs directly to your eyes.
A common mistake is placing the strip at the very front edge of the cabinet where it becomes visually prominent. Another is pushing it so far back that the backsplash receives most of the light while the cutting board remains dim.
The right position depends on cabinet depth, countertop reflectivity, and the strip’s beam pattern. Before removing any adhesive backing, temporarily hold or tape the strip in position and test it at night.
Diffusers can improve the result, but renters should keep them removable
An aluminum channel with a diffuser can turn visible LED dots into a smoother line of light and can also help with thermal management. ENERGY STAR notes that LEDs rely on heat management to maintain performance.
However, many channels are designed for screw mounting. If you use one in a rental, choose a lightweight channel that can be mounted reversibly within the limits of the adhesive or clip system you select. Do not exceed the mounting product’s rated load.
Build the baseline automation: motion on, vacancy off
The most useful under-cabinet automation is not voice control. It is hands-free activation while your hands are busy.
Philips Hue’s current motion-sensor guidance supports this general pattern: lights can turn on when movement is detected, use different scenes based on time of day, and turn off after a configurable period without motion.
A solid kitchen automation looks like this:
Trigger: kitchen motion detected
Condition: ambient light is low enough to need task lighting
Action: under-cabinet strip on
Brightness: 70–100%
Color temperature: neutral or slightly warm white
Off rule: no motion for 5–15 minutes
The delay matters. If you set the lights to turn off after one minute, they may go dark while you are standing relatively still chopping vegetables. If you set the delay to an hour, the automation stops saving runtime.
Use daylight sensitivity when your platform supports it
A motion sensor near a bright kitchen window should not switch the strip on every time someone walks past at noon.
Hue, for example, exposes daylight sensitivity so motion can be ignored when the room is already bright enough. Other ecosystems may use a separate illuminance sensor or a lux threshold.
The logic is the same:
motion + insufficient ambient light = turn on
That produces a much better experience than motion alone.
Add a late-night scene instead of using the daytime task scene
The lighting you want while preparing dinner is usually not the lighting you want at 2 a.m.
A second automation can make the same physical strip behave like a night-light:
| Time | Suggested behavior |
|---|---|
| Morning | Medium-to-high brightness, neutral white |
| Evening cooking | High brightness, neutral/warm white |
| Late night | 5–20% brightness, warm white |
| Away | Off unless explicitly needed |
The exact percentages are personal. The important design principle is that the strip should not blast the kitchen at full output for every motion event.
Philips Hue documents time-based motion scenes for exactly this type of behavior: a brighter scene during the day and a lower-level Nightlight scene late at night.
A useful late-night automation
Trigger: motion detected between 11 p.m. and 6 a.m.
Action: turn under-cabinet strip on at 10%
Color: warm white
Off rule: no motion for 2–5 minutes
This makes the strip useful for water, medication, or a quick snack without turning on the main ceiling fixture.
Use door sensors only where they solve a real problem
A contact sensor on a cabinet or pantry door can create attractive automations, but it is easy to overbuild the kitchen.
Door-triggered lighting is most useful for:
- a deep pantry cabinet;
- a dark appliance garage;
- a storage cabinet that blocks room lighting;
- a coffee station you use repeatedly at the same times.
The logic is straightforward:
door opens → local strip or segment on
door closes → off
The challenge is physical placement. A contact sensor mounted to a rental cabinet adds another adhesive component and another battery to maintain. Use it only when motion sensing cannot solve the same problem more simply.
Create a “cooking mode” that overrides the motion timer
Motion automation becomes annoying when the lights keep timing out during a long cooking session.
A better design is to give the kitchen two states:
- Automatic mode for normal walk-through use.
- Cooking mode that holds the under-cabinet lights on until you explicitly end the scene or the system reaches a safety timeout.
You can activate cooking mode with:
- a wireless button;
- an app scene;
- a voice command;
- a kitchen occupancy state;
- a scheduled routine around meal-prep time.
A renter-friendly wireless button is especially useful because it can be mounted with removable adhesive and does not require replacing the landlord’s wall switch.
Do not create automations that depend on the main wall switch staying off
If the smart strip is plugged into an outlet controlled by a wall switch, somebody can cut power to the controller and make the automation unavailable.
Where possible, use an always-powered outlet and let the smart controller handle switching. If that is not possible, label the switch or choose a different outlet rather than defeating or modifying electrical hardware.
Matter can make a renter setup easier to move between ecosystems
For a renter, portability is part of the product value.
Nanoleaf’s current Essentials Lightstrip documentation identifies Matter-compatible models, and Philips Hue lists Matter among supported third-party systems for its Lightstrip Plus ecosystem. Matter does not guarantee that every advanced effect or vendor-specific scene will behave identically in every platform, but it can make basic cross-platform control easier when supported by the device and controller.
That matters if you move from an apartment using Apple Home to a new place where you prefer Google Home, Alexa, SmartThings, or Home Assistant.
Before buying, check three separate compatibility questions:
- Does the light strip support your preferred ecosystem?
- Does the motion sensor expose the data you need in that ecosystem?
- Can your chosen platform create the automation logic you want without relying on a vendor cloud feature you may later abandon?
The label on the box is only part of the answer.
What to automate—and what not to automate
Good automation removes repetitive actions. Bad automation creates hidden rules nobody remembers.
For most rental kitchens, these are worth automating:
- motion-on when ambient light is low;
- vacancy-off after a reasonable delay;
- dim warm lighting after bedtime;
- a manual “cooking” scene;
- automatic off at a fixed late-night time as a fallback;
- optional away-mode shutdown.
These are usually not worth the complexity:
- elaborate color changes based on weather;
- dozens of scenes triggered by minor events;
- turning the strip off whenever one cabinet closes;
- automations that fight with another household member’s manual control;
- cloud-only routines for a function you need to work reliably every night.
The best renter automation is one you can explain in thirty seconds to a roommate—and remove in thirty minutes when the lease ends.
Electrical, heat, and moisture safety still matter
“Low-voltage LED strip” does not mean every part of the system is low-risk.
The power adapter connects to mains electricity, and under-cabinet locations can be close to sinks, steam, grease, and cooking heat. Follow the strip manufacturer’s indoor/outdoor and moisture rating. Do not mount a product near a sink, cooktop, oven vent, or other heat/moisture source unless the manufacturer’s instructions permit that environment.
Also:
- use the supplied or manufacturer-approved power supply;
- do not conceal adapters where heat cannot dissipate;
- do not splice mains wiring to make the installation look permanent;
- keep cables away from burners, sharp cabinet hardware, and moving drawers;
- do not overload smart plugs or extension hardware;
- follow landlord rules and local electrical requirements.
If the setup would require opening an electrical box, modifying fixed wiring, or adding a receptacle, stop treating it as a renter DIY project and involve the property owner or a qualified electrician.
A renter-friendly setup in three tiers
You do not need a full smart-home ecosystem to get useful under-cabinet lighting.
| Tier | Hardware | Automation level | Best for |
|---|---|---|---|
| Basic | Plug-in LED strip + removable clips | Manual or timer | Lowest cost, easiest move-out |
| Smart | Smart strip + app/platform | Schedule, scenes, remote control | Renters who want dimming and routines |
| Automated | Smart strip + motion/illuminance sensor + wireless button | Motion, vacancy, day/night scenes, manual override | Best hands-free experience |
For most people, the third tier provides the biggest quality-of-life improvement without requiring permanent changes.
Move-out planning should be part of installation day
A renter-friendly setup is not finished until you know how it comes off.
Before installation, save:
- the mounting product’s removal instructions;
- spare adhesive tabs or refill strips;
- the original strip connectors and controller accessories;
- the QR or Matter setup code;
- any small clips you removed during installation.
When you move, disconnect power first, remove the strip and clips using the manufacturer’s technique, and work slowly. Do not pull adhesive straight away from a delicate finish if the mounting system specifies a stretch-release method.
The goal is to leave behind the same cabinet surface you started with—not a brighter kitchen and a repair bill.
Conclusion
The best renter-friendly under-cabinet LED automation is a plug-in, reversible system: smart strip, removable mounting, motion or occupancy control, a sensible vacancy timer, and a dim late-night scene. That gives you most of the experience of built-in task lighting without drilling holes or modifying fixed electrical wiring.
Start by solving the physical installation first. Test the cabinet surface, keep the power hardware accessible, and choose removable clips or another reversible mounting method where possible. Once the strip can be installed and removed safely, add motion, daylight, and time-based automations one layer at a time until the lighting feels automatic without becoming complicated.
Common questions
Questions this guide answers
Can renters install under-cabinet LED strip lights without drilling?
Yes. Many plug-in LED strips can be installed without drilling, and removable clips or adhesive mounting systems can keep wiring and lighting in place without permanent holes. Always check the lease and test the mounting method on the cabinet finish before committing to a full installation.
What is the best automation for under-cabinet lights?
Motion-triggered lighting with an automatic shutoff delay is the most useful general-purpose automation. A good setup can use brighter neutral light during food preparation and a dimmer warm scene late at night, while turning the strip off automatically after the kitchen is vacant.
Should I use a smart light strip or a regular LED strip with a smart plug?
A smart light strip is better when you want dimming, color temperature changes, scenes, and granular automation. A regular dimmable LED strip on a smart plug is simpler, but a smart plug normally provides only on/off control unless the strip has its own compatible controller.
Can adhesive LED strips damage rental cabinets?
They can. Built-in high-bond adhesive may leave residue or lift paint, veneer, or weak finishes during removal. A removable clip system can reduce that risk, but no mounting method is universally damage-proof, so follow the mounting manufacturer's surface and removal instructions and test an inconspicuous spot first.
Do under-cabinet LED strips use much electricity?
LED lighting is generally very efficient, and automation can reduce unnecessary runtime further by turning task lighting off when the kitchen is empty. Actual electricity use depends on strip wattage, brightness level, length, and how many hours it operates.
Evidence & further reading
Sources & references
Primary and authoritative references used to support or contextualize this article. Links open the original source.
- 1Motion sensor lighting guide
Philips Hue · Accessed Aug 28, 2026
Supports motion-triggered lighting, time-based scenes, daylight sensitivity, and configurable after-motion behavior.
- 2Hue Lightstrip Plus 2m
Philips Hue · Accessed Aug 28, 2026
Supports plug-in smart lightstrip characteristics including dimming, cutting, extension, adhesive mounting, and smart-home compatibility.
- 3Nanoleaf Essentials Lightstrips User Manual
Nanoleaf · Accessed Aug 28, 2026
Supports current Matter and Apple Home compatibility for Nanoleaf Essentials smart lightstrips.
- 4ORMANÄS LED light strip, smart wireless dimmable/color and white spectrum
IKEA · Accessed Aug 28, 2026
Supports a plug-in smart strip example with cutting, self-adhesive installation, dimming, color control, and hub-based smart-home functions.
- 5Command™ Clear Decorating Clips
3M · Accessed Aug 28, 2026
Supports tool-free, removable clip mounting for lights and cords on compatible smooth indoor surfaces.
- 6Learn About LED Lighting
ENERGY STAR · Accessed Aug 28, 2026
Supports LED efficiency and the importance of heat management for LED performance.

About the author
Daniel Reed
Daniel writes about connected-home standards, small-space technology, device interoperability, and privacy-conscious urban living.
More from Daniel →Make your home smarter without buying every gadget.
One useful idea, one product worth knowing, and one energy-saving action—delivered weekly.
No spam. Unsubscribe anytime.
Semantic recommendations
Related reading
Selected from topic cluster, entities, tags, search intent, and editorial relationships.
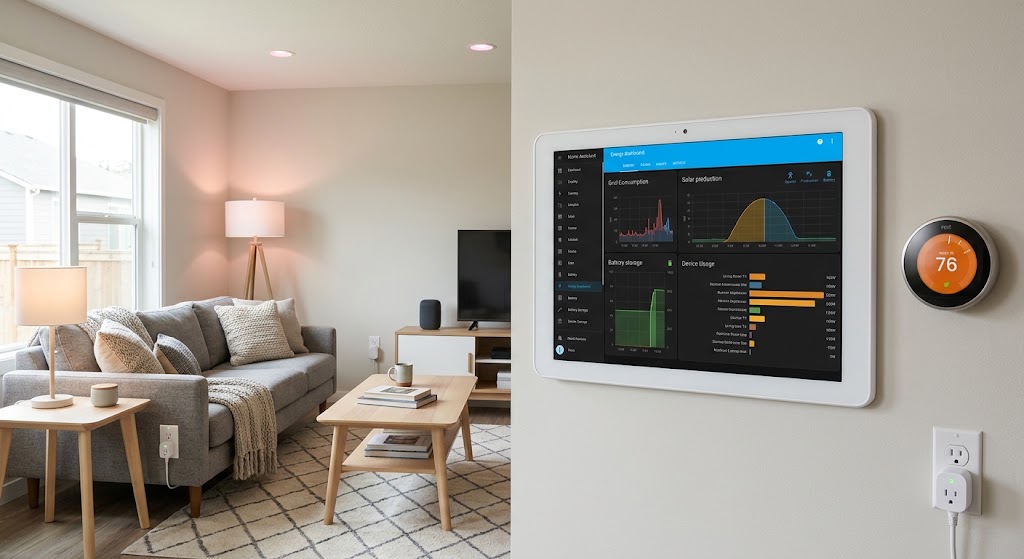
5 Essential Home Assistant Automations for Energy Saving
These five Home Assistant automations target the biggest sources of avoidable household energy use: HVAC runtime, unnecessary lighting, standby loads, expensive tariff windows, and solar heat gain.
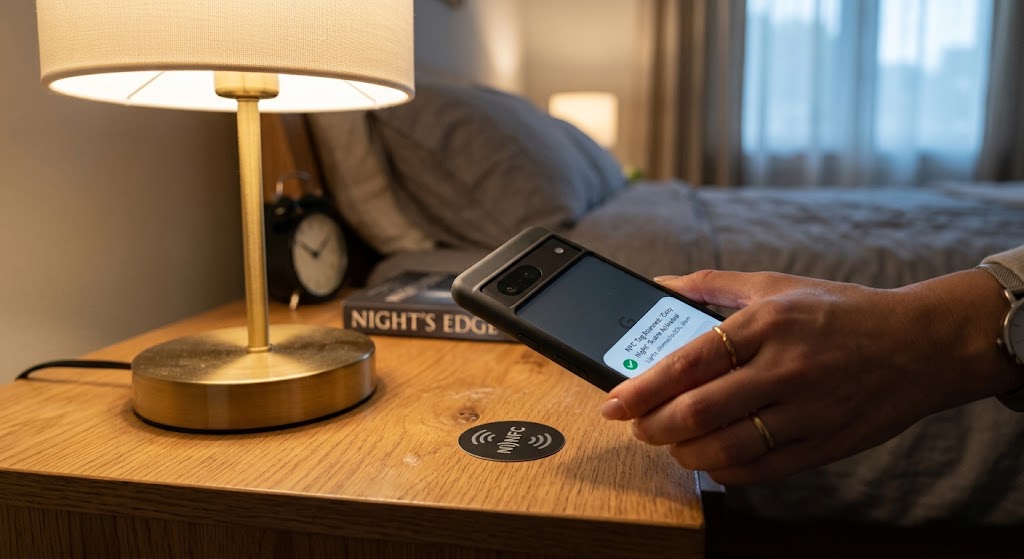
How to Set Up NFC Tags Around the House for One-Touch Lighting
Use inexpensive NFC tags as intentional one-touch lighting controls for bedside scenes, entryways, desks, and whole-home off routines without adding wall switches.
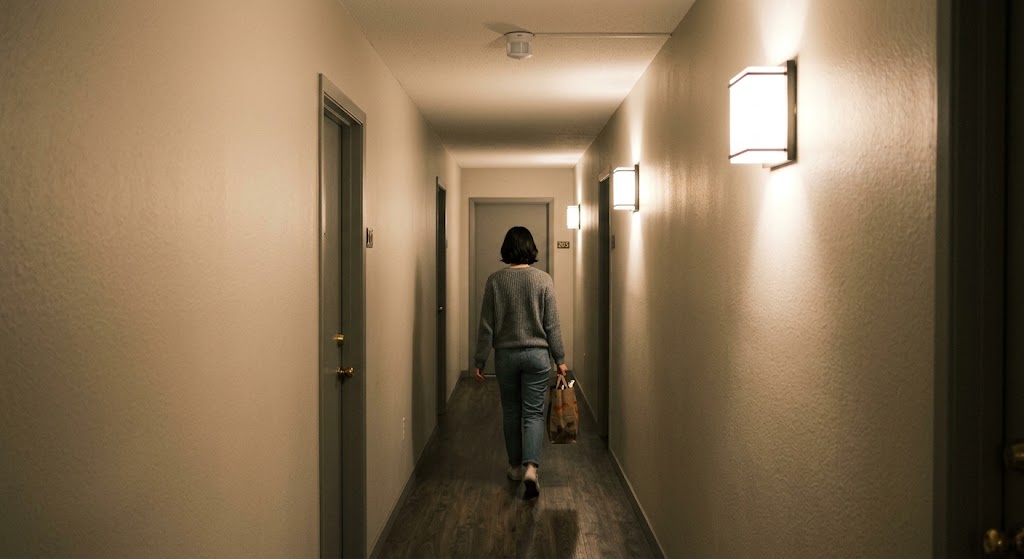
Smart Motion Sensor Automations for Dark Apartment Hallways
Build hallway lighting that turns on only when needed, stays dim at night, and avoids the annoying false-offs common with basic motion automations.
Home Assistant Starter Guide: How to Build a Private, Local Smart Home
Home Assistant lets you run automations, dashboards, and device control on hardware inside your home. This beginner guide shows the cleanest 2026 path to a private, local-first setup.